Backpack Inventory Module
Overview
Inventory management and item database
Installing
- Import package from Package Manager UI
How to use
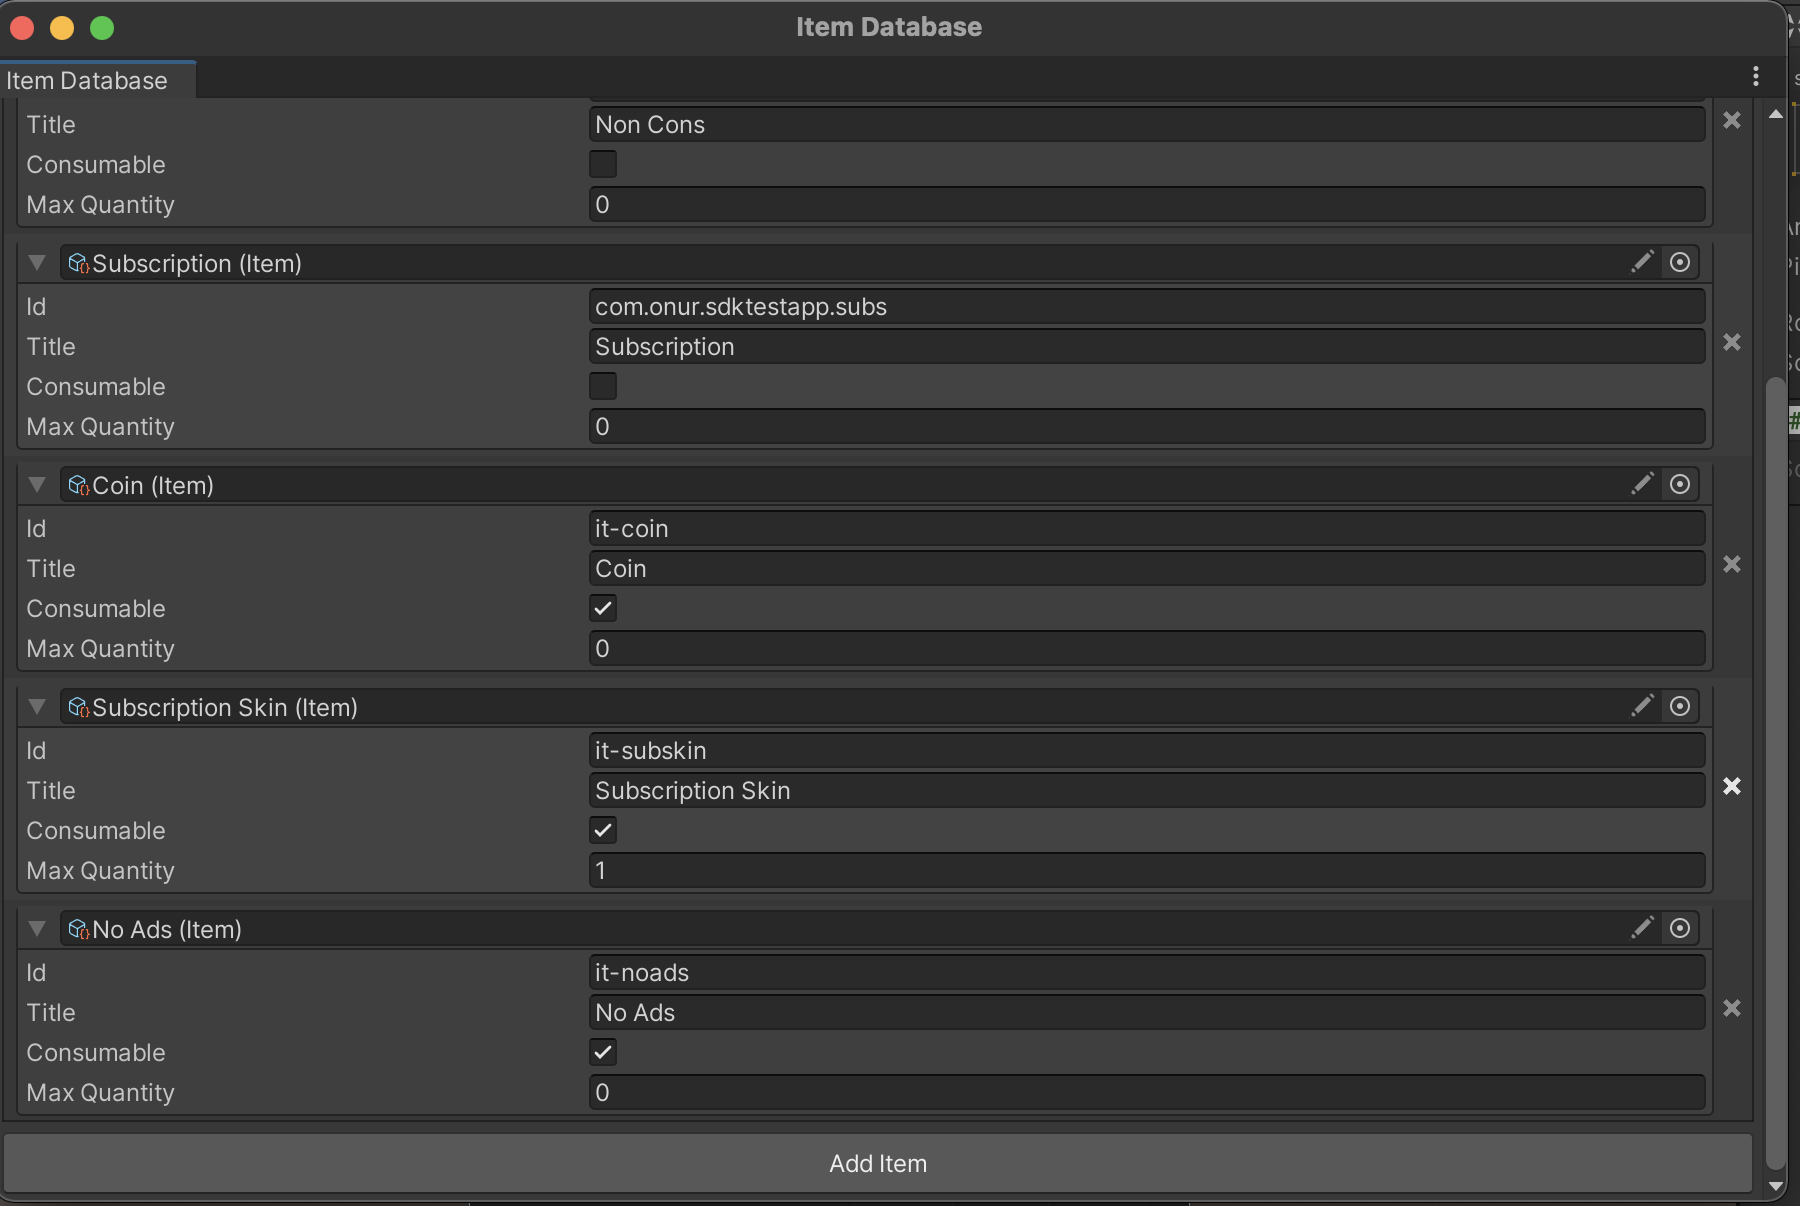
- Open item database from
Matchingham > Items > Item Database. You can manage your items from here. - Either click
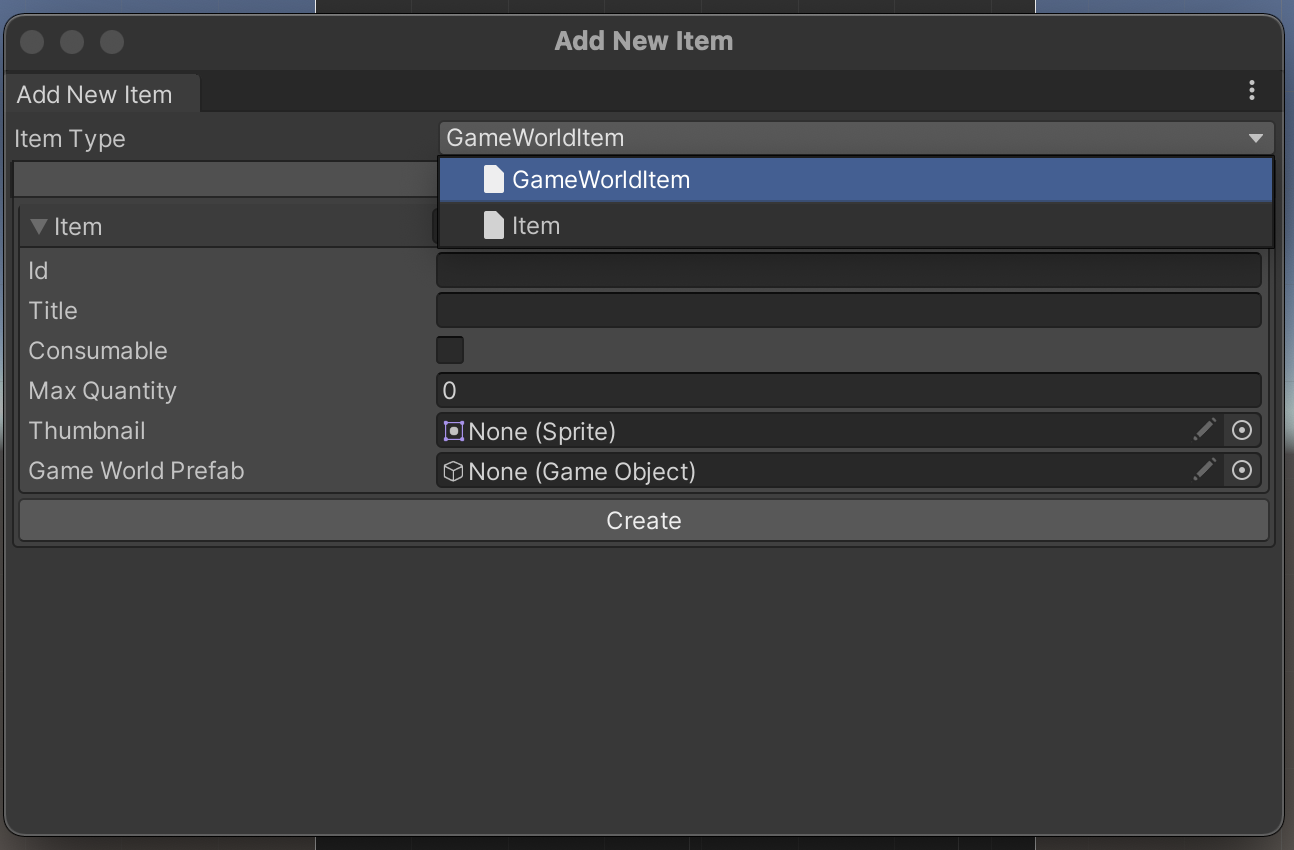
Add ItemfromItem Databaseeditor window, or clickMatchingham > Items > Add Item - Select the type of item you want to add from the dropdown
- Enter item details and hit
Create - Use
AddItem(itemId: string, quantity: int (1))method to add an item to player's inventory, with optional quantity. If you don't provide the quantity parameter, it will be 1 by default - Use
RemoveItem(itemId: string, quantity: int (1))to remove given quantity of given item from player's inventory - Use
GetOwnedQuantity(itemId: string)to get owned item quantity in player's inventory for provided item id - You can check if player has an item using the
HasItem(itemId: string)method - Use
IsMaxCapacity(itemId: string)to check if the owned quantity of an item has reached max value in player inventory. If so,AddItemcalls will not add additional items... - Use
GetEntries()method to enumerate all item entries in the player's inventory
How does this work?
By default, backpack provides you with a basic item data class that has no in game representation. These kind
of items can be used for in game resource management, like player money, hard currency etc. If you want, you
can create new item types with custom fields, like in-game prefab, ui representation, just make sure that
class inherits from Item class.
For example, creating a custom item that can be placed in game world with player input, which will also have a ui representation (for user to select which item will be placed) can be defined like this:
public class GameWorldItem : Item
{
    public Sprite thumbnail;
    public GameObject gameWorldPrefab;
}
You can then use the Matchingham > Items > Add Item menu to define items using the new GameWorldItem class.
After defining some items of this type, you can use Backpack API methods to add, remove, check and query owned
quantity of each one like other items.
- NOTE: The
Max Quantityfield defines how many of that item the inventory can hold. Leave it0for no limit.
If you have an item that you don't want in the project anymore, you can remove it using the
Matchingham > Items > Item Database menu. From here, find the item you want to remove from the project,
then hit the small 'x' button on the right side of the entry to delete the item. Please note that doing this
on a live project might cause problems as the item might be referenced in player's inventory. If the item
must be removed, write a simple script to check player inventory and remove invalid items from
it.
Initial Inventory
In some games, players can have a set of starter items. This can be achieved by using the Initial Inventory Editor
from Matchingham > Items > Edit Initial Inventory. In the opened editor, Add/Edit/Remove the items and their quantities
and when the app starts for the first time, or the inventory is created for the first time, those items will be in the player's inventory.
- NOTE: This is a new feature. If you are updating from a previous version and users already have existing backpacks, backpack will still give the initial items to the players, so existing players will get the initial equipment as well.
Configuring Initial Inventory From Remote Config
If Meteor Module is present in the project, backpack will wait for the meteor module initialization before adding initial items to the player's inventory.
Configuration
Go to Matchingham > Items > BackpackConfig
| Variable | Description |
|---|---|
| Enabled | Enabling/disabling the module |
| AutoInitialize | If enabled, you don't need to call Initialize method manually. |
| Item Database | Items data. You can't edit them here. See how does this work |
| Initial Inventory | Items the inventory will have by default. See initial inventory |
| Auto Save | If true, when an item is added or removed, it will be saved automatically. Otherwise, it will be saved when the game is in background. |
API & Details
Backpack
Methods
-
GetEntries() : Returns an
IEnumerable<ItemEntry>. This object represents the items inside the player's inventory. -
HasItem(itemId: string) : Checks if the user has a certain item.
-
GetOwnedQuantity(itemId: string) : Returns a value indicating how many of the given item player owns.
-
SetOwnedQuantity(itemId: string, quantity: int)` : Set the value how many of the given item player owns.
-
IsMaxCapacity(itemId: string) : Returns a value indicating whether the player owns maximum allowed number of a certain item type.
-
AddItem(itemId: string, quantity: int (1)) : Adds given item to player inventory, with provided quantity. If no quantity is provided, only adds 1.
-
RemoveItem(itemId: string, quantity: int (1)) : Removes given item from player inventory, with provided quantity. If no quantity is provided, only removes 1.
Common
Methods
-
Initialize() : Starts module initialization. You need to call this at the appropriate place.
-
WhenInitialized(Action callback) : Allows you to register
callbackthat will be fired only after the module is successfully initialized. Use this to execute logic that requires this module to be initialized first. If the module has already initialized, immediately invokes the callback. -
WhenFailedToInitialize(Action callback) : Allows you to register
callbackthat will be fired only after the module fails to initialize for any reason. Use this to handle what should happen in case this module fails to initialize. If the module has already failed to initialize, immediately invokes the callback. -
WhenReady(Action callback) : Combined version of
WhenInitializedandWhenFailedToInitialize. Delays execution ofcallbacktill module is first initialized or failed to initialize, immediately invoke the callback if it is already initialized or failed to initialize.
Fields
-
State : Initialization state of the module
-
Instance : Instance of the module
-
LateInitialized : When the module needs an internet connection but the player became online while playing the game, this becomes
true -
Ready : If the module is initialized successfully and ready to operate
-
Config : Configuration of the module. See configuration